Shooting in RAW
DIGITAL IMAGING Hans Weichselbaum www.digital-image.co.nz

A couple of issues back we talked about the different file formats you can use for storing digital images. Apart from the ubiquitous JPEG format there are a lot to choose from: TIFF, PNG, GIF and many others, but I didn’t mention the RAW format.
Camera RAW files are not really image files, like TIFFs or JPEGs; they simply record the camera sensor data plus some camera-generated metadata. Think of a bucket where all the sensor data gets collected with no image interpretation applied. They are not yet processed and therefore not ready to be printed or edited.
If set to JPEG your camera still produces a RAW file, but this is converted straight into a JPEG image in the camera, according to the parameters you choose for white balance, contrast, colour saturation and sharpening. When shooting in RAW you are free to set all these parameters later on your computer.
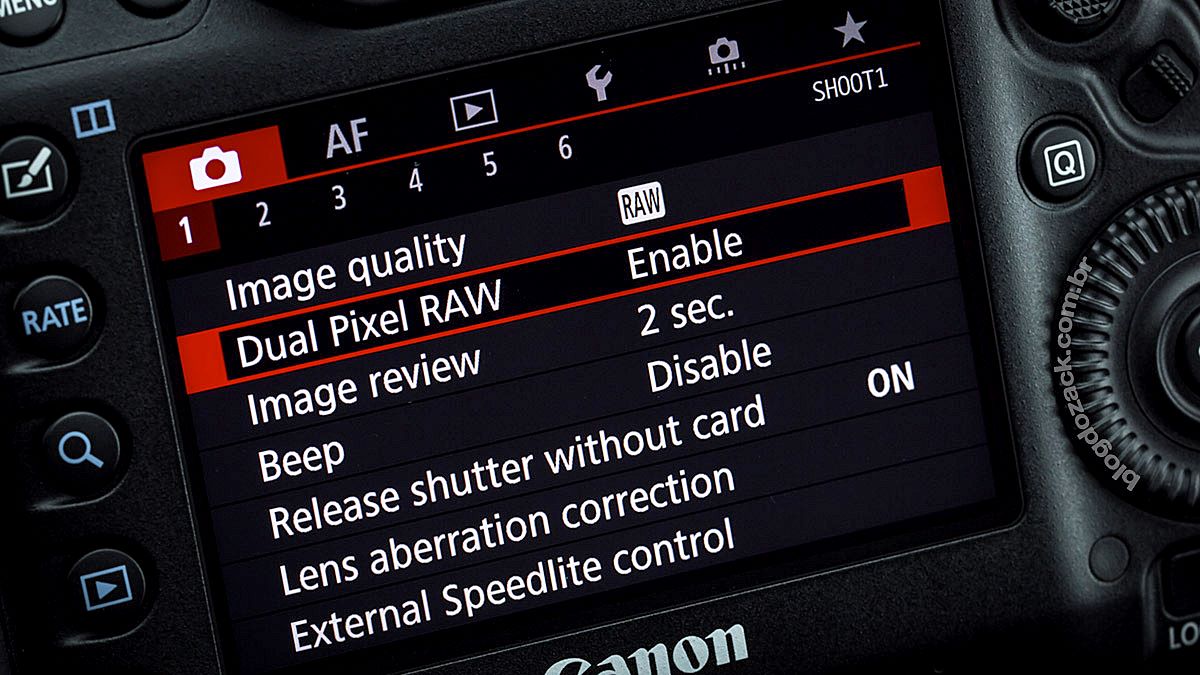
If you own a professional or semi-professional camera the chances are it allows you to capture your shots as RAW files. Even the latest generation of phone cameras are RAW capable, all giving you the option of either shooting in JPEG or in RAW
RAW vs JPEG
JPEG files can be viewed immediately, printed and shared which is probably the strongest argument for leaving your camera set to JPEG. On the other hand, RAW files first need to be processed with special software to extract the images.
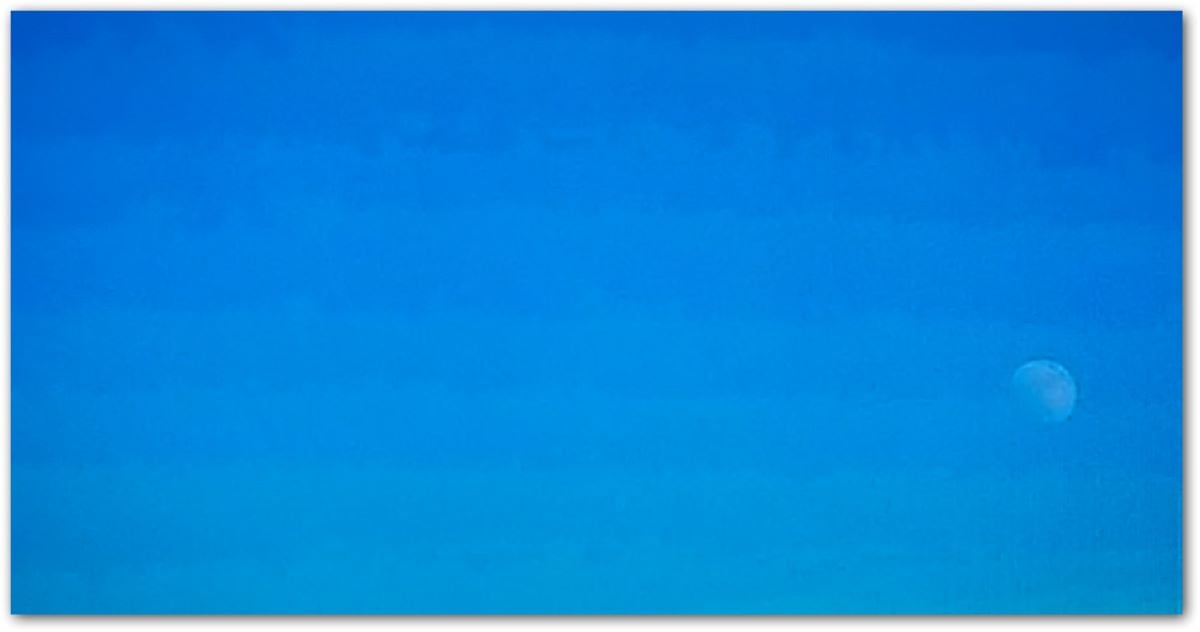
Then there is the dynamic range of the sensor to consider. Your camera collects 12 to 14 bits of data per pixel which translates into 4,096 (2^12) or 16,384 (2^14) levels of lightness per colour channel. Compare this to 256 (2^8) for JPEG files. This is not a problem if the image is well exposed. However, if you need to lighten dark areas of your JPEG image you can quickly run out of information and instead of a smooth tonal transition, get posterisation which shows up as ugly ‘banding’ in smooth areas as in Image 1

"The higher dynamic range of RAW files also comes in handy when the image is overexposed. RAW files allow you to recover at least one extra stop in highlight detail which would be lost as blown-out, white areas in JPEG images."
Setting your camera to JPEG forces you to stick to the presets you have chosen (contrast, colour saturation, sharpening, noise reduction etc.) before taking the picture. This is a compromise since individual images taken under different conditions will need specific, optimum settings. All these parameters can be set individually as you process RAW files.
Another often overlooked advantage of shooting in RAW is that the RAW conversion software keeps getting better, especially its sharpening and noise reduction algorithms. Once you have collected some superb shots over the years (and archived them as RAW files!) you can always go back and extract even better images using the latest software.
Of course, setting your camera to JPEG has advantages as well. First of all, JPEG files are a lot smaller; they take up less space and the camera can save them faster. Media storage is cheap, but high-speed shooting might be important to the sport photographer.
The latest generation of cameras do a lot of lens correction before saving the JPEG file: lens distortion, chromatic aberration and vignetting which allows the manufacturer to build smaller and cheaper lenses, without compromising image quality. So if you switch to RAW you need to make sure that your RAW converter can correct for those deficiencies and that it has a profile for your lens.
RAW conversion software
"RAW conversion software keeps getting better, especially its sharpening and noise reduction algorithms."
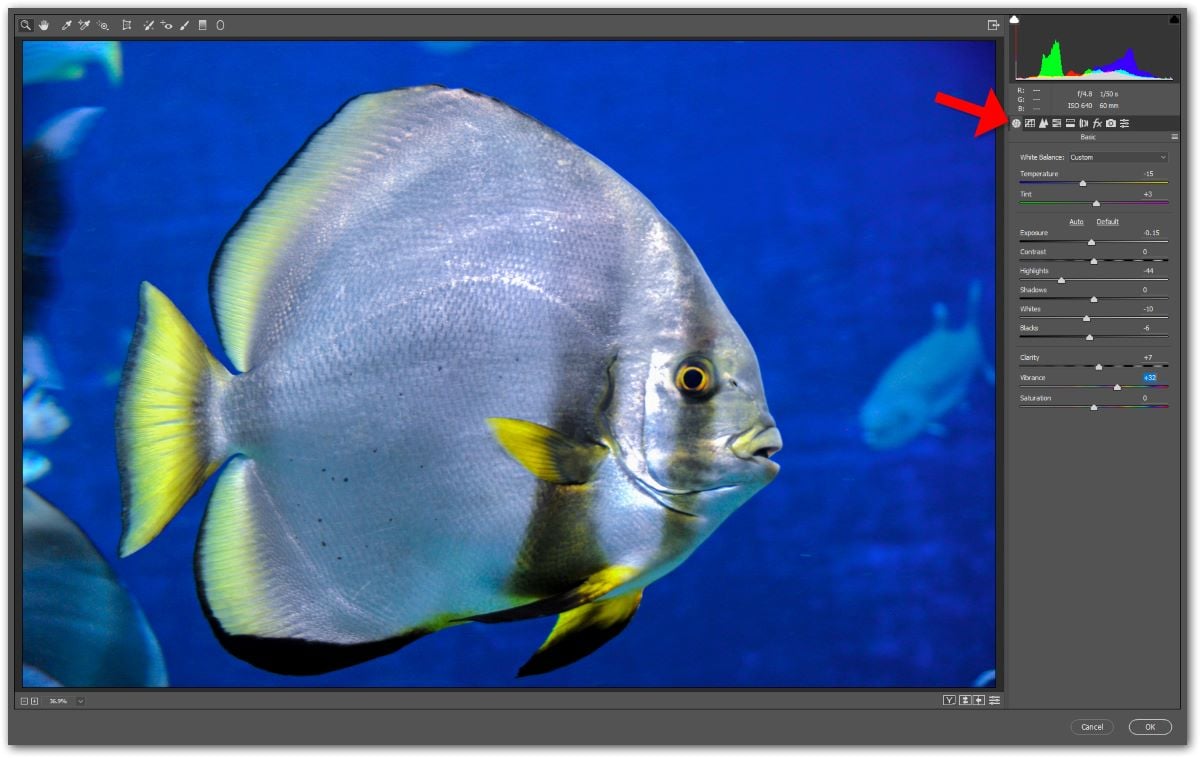
If you opt for RAW shooting, you need to use a RAW converter. Your camera comes bundled with the necessary software which you need to install on your computer but most people prefer a third-party option. Image 2 shows you Adobe Camera Raw, one of the most popular RAW converters, part of Adobe Photoshop.

The screen shot shows you one of the many tabs for controlling light temperature, exposure, contrast, highlights, shadows and colour saturation. The red arrow points to a whole row of tabs which puts sharpening, noise reduction, colour balance, geometric corrections and many other features at your fingertips. Adobe Lightroom, the choice of many professional photographers, comes with very similar controls.
Perhaps you think RAW editing and conversion is tedious because all parameters can be edited individually for each shot but most converters come with batch functions which allow you to process a whole bunch of files in one go.
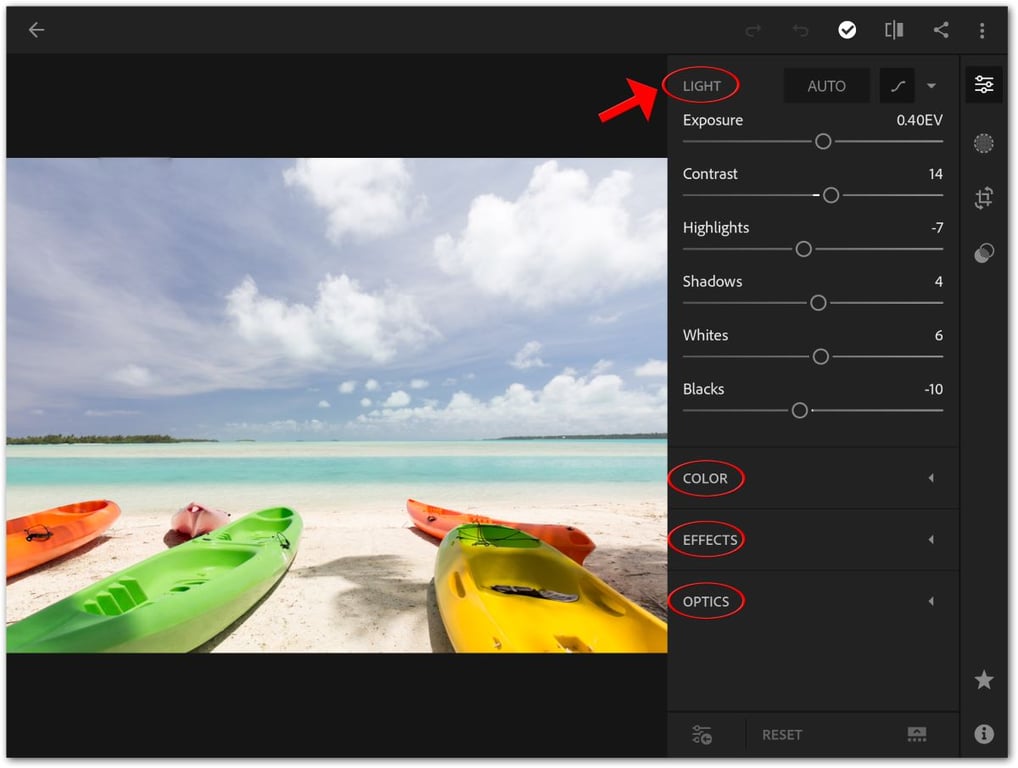
A host of RAW converters are available for tablets and smartphones. Image 3 shows part of the controls you’ll find in Adobe Lightroom for Samsung tablets.
But there lots of photo editor apps out there catering for RAW shooting. Photo Mate R3 comes with a data base for lenses to fix issues such as vignetting, distortion and chromatic aberration which is about as pro as it gets on Android. Snapseed is certainly amongst the best photo editor apps, and it can also handle your RAW files.
JPEG or RAW?
This is the million dollar question. If you take care with proper exposure and only use your images for onscreen viewing or small prints, then you are better off with JPEG output from your camera. Keep in mind that resaving your images in JPEG format after editing will further compress and degrade the image. For this reason you should always use the best quality JPEG setting your camera can offer.

If you want to squeeze the last bit of quality out of your hardware, you need to take the RAW file route. It can make a noticeable difference in a large print. If you find yourself shooting in challenging conditions, for example under low light and extreme contrast, RAW files will make it easier to extract more detail in shadow and highlight areas.
Many cameras allow you to save both JPEG and RAW files at the same time and with a slight penalty in shooting speed you can get the benefits of both. But in most cases the JPEGs will do the job, and you can process the RAW versions when necessary!


